

Did you know you can refresh your uPVC windows, also known as vinyl windows, with paint? It's an affordable makeover that can completely change your space in just a few hours.
Painting uPVC windows is a simple DIY project you can tackle over a weekend, yielding long-lasting results, according to our expert decorators. However, using the right tools and following these six steps is essential to avoid pitfalls like painting during unfavorable weather conditions.
Is it possible to paint uPVC windows?
Many homeowners hesitate, fearing a poor finish or peeling paint, but that's not a concern when done correctly.
Gal Cohen, a window specialist, states, "Many think painting uPVC isn't possible, but with the appropriate methods, you can achieve a smooth, durable finish."
Keep in mind that this project demands some essential tools, quality products, and a bit of patience.
Eli Massar, founder of a painting service, adds, "While you can change the color of your vinyl windows, it's one of the trickier DIY tasks. Vinyl is primarily designed for easy cleaning rather than painting."
He continues, "If your current color is simply looking worn, consider cleaning your windows first, as it could significantly enhance their appearance. But if cleaning isn't enough, and you're up for a challenge, this project is ideal for you."
Key supplies for painting uPVC
 Multi-purpose cleaner
This versatile product effectively removes grease and dirt. Its mild fumes make it suitable for home use, and a few drops can enhance your DIY cleaning solutions.
 25 sheets
Featuring two sheets each of 220 and 320 grit, these sanding sheets offer excellent value. They're strong yet flexible, making them easy to maneuver into tight spots.
 Easy to remove
This tape is perfect for masking areas you wish to keep paint-free, ensuring a tidy finish. Its strong adhesion is balanced with easy removal once your project is complete.
Step 1: Clean the windows thoroughly
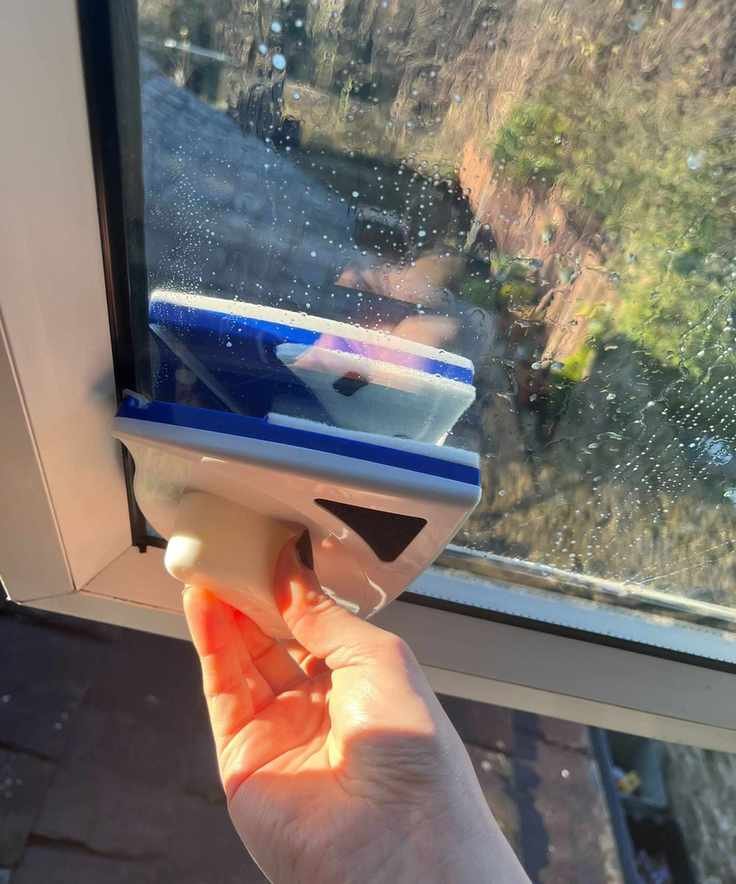
Use a magnetic window cleaner, available at Walmart to save time
Before starting, make sure to clean your windows and frames thoroughly.
Allan Reid, a uPVC expert, suggests washing the surfaces with warm soapy water or a degreaser to eliminate dirt and grime. Ensure everything is dry before proceeding.
"Wipe down with isopropyl alcohol to remove any lingering oils," adds Gal Cohen, emphasizing the importance of this step for paint adhesion.
Check the weather forecast beforehand; painting should happen when temperatures exceed 41°F, avoiding direct sunlight and dampness.
Step 2: Lightly sand the frames
This step applies to all materials, ensuring your paint adheres well. "Use fine-grit sandpaper (around 220 grit) to lightly roughen the surface for better adhesion," advises Reid.
"After sanding, remove the dust with a clean cloth," suggests Gal Cohen.
Microfiber cloths from Target work well for this task. Wash them without fabric softener to maintain their absorbency.
Step 3: Remove hardware

To simplify the painting process, take off any hardware that might complicate the work. Also, note essential interior painting tips and cover any surfaces you want to protect from paint.
"Remove window handles and any trim to prevent accidental paint splatters," advises Reid. "Then, use masking tape to shield areas like glass panes and adjacent walls."
Frog Tape, available on Amazon features Paintblock technology, which helps create sharp lines by preventing paint from seeping underneath.
Step 4: Apply primer

Using primer on wooden and uPVC window frames provides a suitable surface for paint and minimizes flaking.
Don't skip the primer; it's crucial for a lasting finish.
"Use a plastic-specific primer, like Zinsser Bullseye 1-2-3," suggests Gal Cohen. "This will enhance adhesion and longevity. Allow it to dry fully before proceeding to the next step."
If you have dark uPVC, consider using gray Zinsser Bullseye 1-2-3 from Lowe's, ensuring even coverage.
Although some uPVC paints don't need primer, using one can improve durability and bonding, according to Reid. If using primer, ensure an even coat and allow it to dry completely.
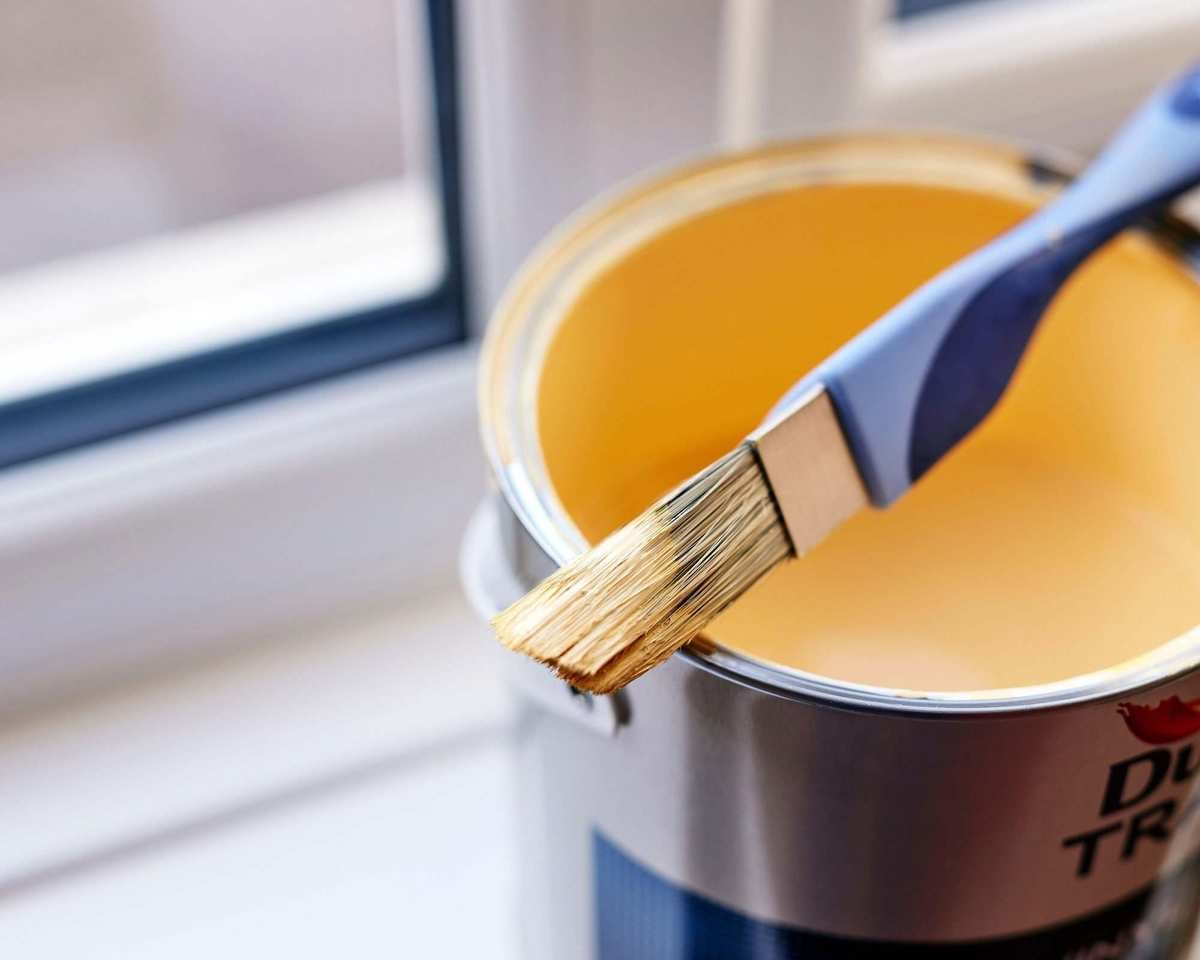
Step 5: Paint application
There are two methods to apply paint to uPVC windows: using spray paint formulated for plastics or traditional brush and roller methods.
"Spray painting provides a smooth, professional finish without brush marks," explains Gal Cohen. "This method is ideal for larger windows or intricate designs."
"If you prefer more control, a brush and roller is a good choice for smaller areas or to avoid overspray," he adds.
For spray painting, Cohen recommends a high-quality spray paint for plastics, like Rust-Oleum Universal All Surface Spray Paint from Lowe's. Apply multiple light coats rather than one thick coat to avoid drips and uneven coverage; aim for 8 to 10 inches from the surface, spraying smoothly.
If you're using a brush and roller, Cohen advises applying a bonding primer designed for plastics. An excellent choice is INSL-X SXA11009A-01 Stix Acrylic Waterborne Bonding Primer from Amazon. Use a synthetic brush for corners and a foam roller for larger areas. Follow the manufacturer's instructions for drying.
After the primer dries, use high-quality uPVC paint that flexes with the material to prevent cracking and peeling. Apply two to three thin coats for optimal coverage.
Recommended paints for your project
 Good color variety
This spray paint is perfect for quick results, with an angled spray that reaches tight corners. It's available in various colors beyond just white.
 Mold-resistant
This paint provides a mold and mildew-resistant finish and can be applied in temperatures as low as 35°F, effectively covering existing stains.
 Excellent coverage
This paint covers stains impressively and applies smoothly. It's easy to brush or roll on and can be thinned with water for use in a sprayer if needed.
Step 6: Final touches

Don't forget to paint internal uPVC door frames for a cohesive look.
After the paint is completely dry, reattach any hardware.
"Once the paint has dried, carefully peel off masking tape and replace fixtures," Reid suggests. This is also a great moment to assess how to weatherproof your windows if they're drafty.
Common questions
Can you paint during rainy weather?
While eager to start, avoid painting in rain or fog — moisture can ruin the finish.
"Painting in wet conditions leads to poor adhesion, creating streaks and uneven surfaces," explains Reid. "Even without rain, high humidity can impact drying times and finish quality."
Will painting in high heat damage the finish?
Hot conditions can also jeopardize the paint job. This task is best done in spring.
"Excessive heat causes rapid drying, which can hinder adhesion," Reid warns. "Aim for temperatures between 50°F and 77°F, and try to work in shaded areas to avoid direct sunlight."
Windy conditions can also pose problems.
"Wind can blow dust onto freshly painted surfaces before they're set," Reid adds. "To mitigate this, use a fast-drying paint to reduce the risk of debris ruining your finish."
Meet the experts

Allan Reid is well-versed in uPVC and is the founder of a specialized windows and doors company.

Gal Cohen has extensive experience in the sliding door and window field, currently managing business development in his company.

Eli is a professional painter who recently started his own business, focusing on interior and exterior projects.
Before choosing classic white for your window refresh, explore other exterior paint colors that could enhance your home's curb appeal.


